Estimated reading time: 6 minutes

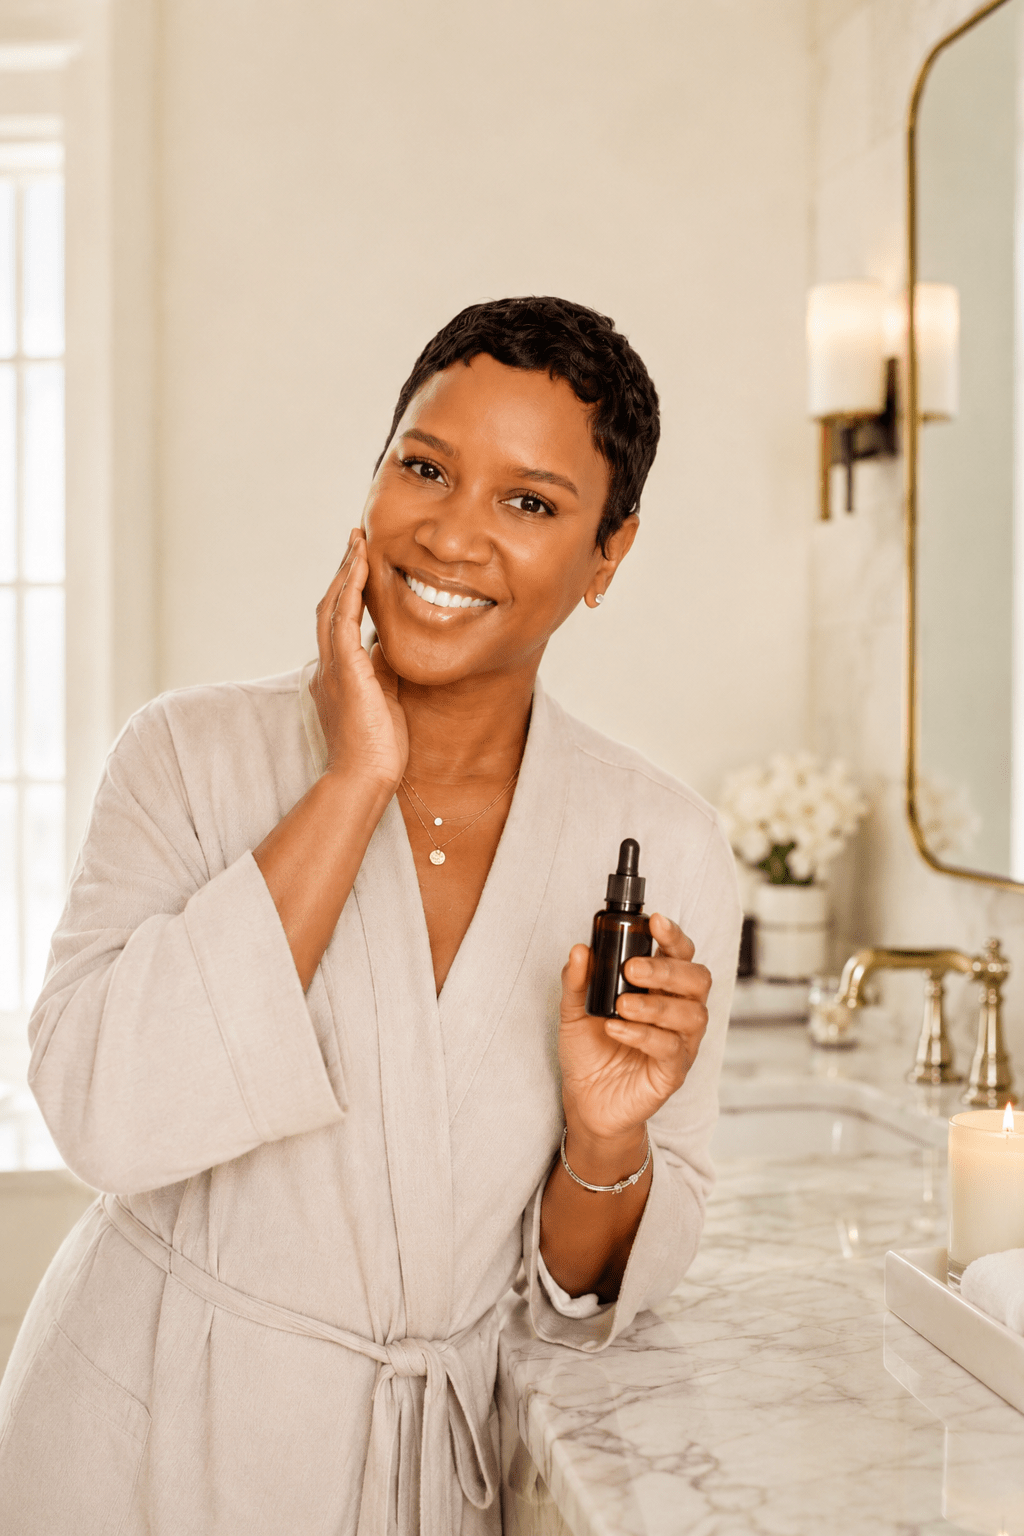
Let’s talk about your nighttime skincare routine. Think of it as your skin’s reset button: a ritual that repairs, restores, and reminds you that your glow is worth the effort. It’s also a sacred slice of “me time”. It’s a moment to wind down, exhale, and pour back into yourself before bed.
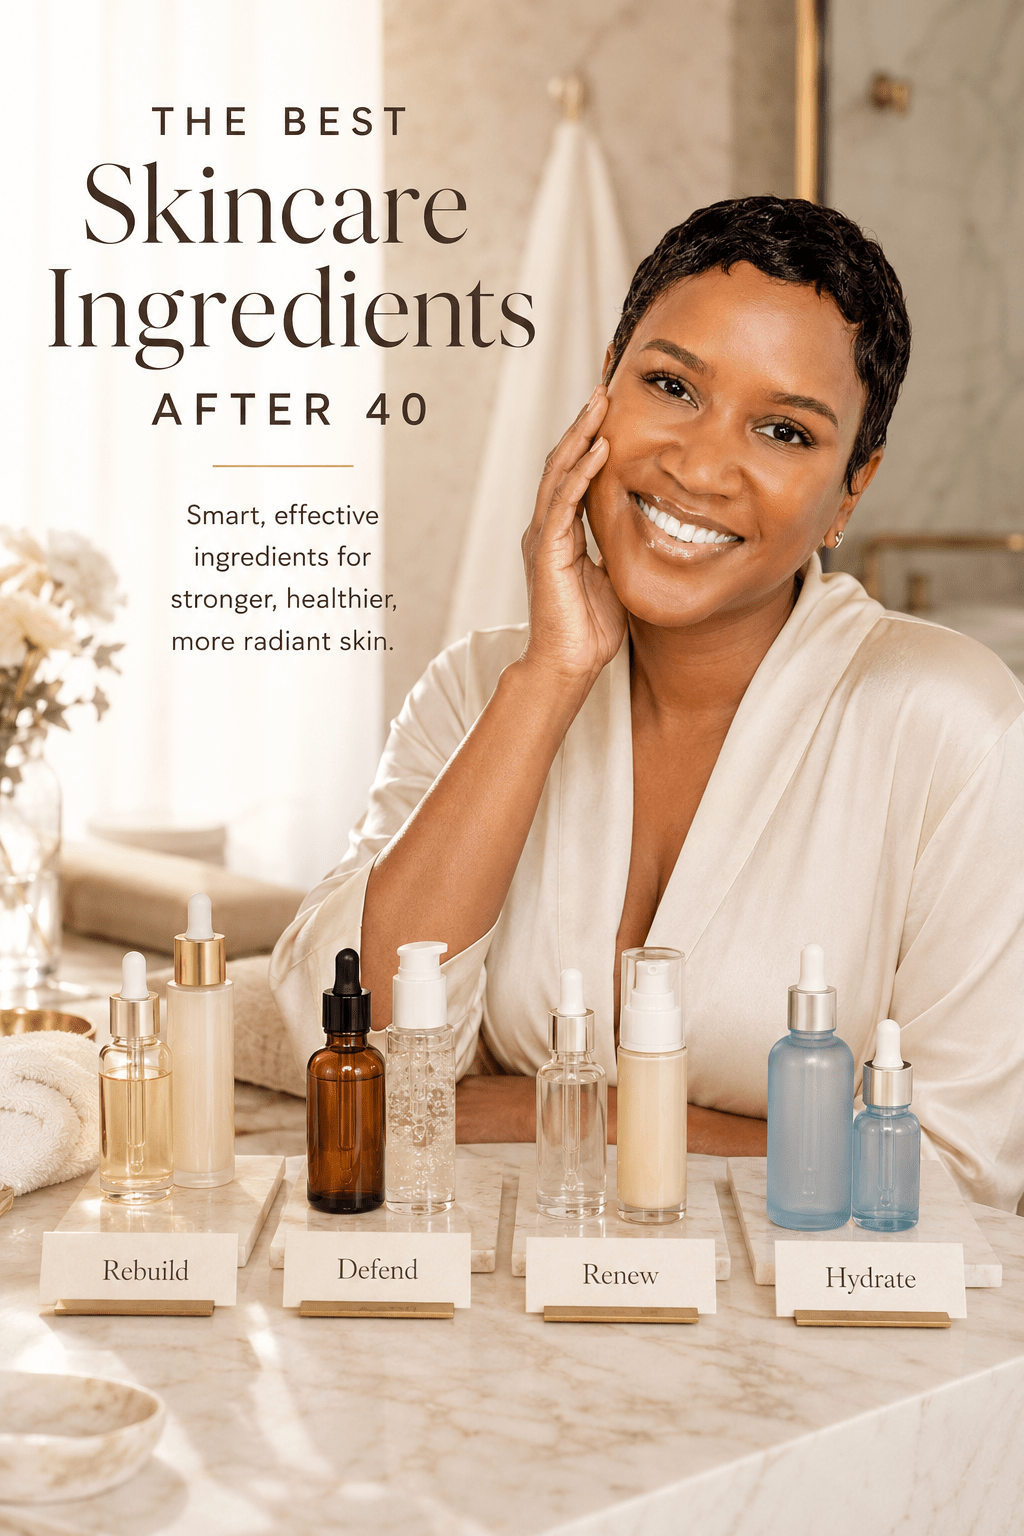
With insights from trusted estheticians and dermatologists (plus a few tried-and-true favorites from my own shelf), I’m breaking down a simple, effective nighttime skincare routine designed especially for Black women over 40. Because our skin deserves care that’s rooted in real life, backed by science, and tailored to our unique beauty.
Why a Nighttime Skincare Routine Matters
During the day, your skin is in defense mode: fending off pollution, UV rays, sweat, and stress. But at night? It’s finally free to breathe, heal, and absorb all the goodness you give it without fighting environmental stressors.
Think of it like this: your skin is the house, and there are no guests, no distractions, just restoration. So yes, your nighttime skincare routine isn’t just self-care. It’s skin strategy.
Your Step-by-Step Nighttime Skincare Routine

Step 1: Remove Makeup and Sunscreen
Before you can treat your skin, you’ve got to meet your skin. That means removing the day: makeup, sunscreen, sweat, and city grime. This is the first step in double cleansing, and it’s non-negotiable in my book.
Double cleansing is like washing your dishes before putting them in the dishwasher. The oil-based cleanser breaks down oil-based impurities (think: foundation, SPF, sebum), while the water-based cleanser lifts water-based debris (like sweat and dirt). Together, they give you a clean canvas without stripping your skin.


✨ Pro Tip: Oil cleansers are especially great because they dissolve impurities gently, without disrupting your skin barrier.
Here are a few of my current go-to oil cleansers:
Step 2: Cleanse (Again!)
Now that the surface stuff is gone, it’s time for a deeper clean. Your second cleanse should be gentle but thorough.
Look for a water-based cleanser that respects your skin’s microbiome (the good bacteria that keep your skin balanced) and doesn’t leave behind residue. If you wear waterproof eye makeup, a separate oil-based remover with cotton rounds can help avoid tugging and irritation.
✨ Reminder: A cleanser that’s too rich can clog pores. One that’s too harsh can dry you out. Balance is key! Your skin should feel clean, not squeaky. And don’t forget your disposable face towels!
Here are a few of my current go-to water-based cleansers:
STEP 3: EYE CREAM
Eye creams aren’t hype, as I definitely used to think they were. I used to think you could just apply a moisturizer under the eye area and be fine. But as I’ve gotten older, I realize they’re actually helpful.
The under-eye area is delate skin that gets tugged, rubbed, and layered with concealer. That skin is thinner than the rest of your face, which means it needs extra TLC.
Hydration here is crucial, and peptides are your best friend. They help smooth fine lines, firm the skin, and keep that area looking bright and rested, even when you’re not.
✨ Why apply eye cream now? Some people like to apply their eye creams after their targeted treatments, but applying eye cream before actives like retinol helps protect this sensitive area from irritation. It’s like laying down a doormat before the heavy boots come in.
Here are a few of my current go-to eye creams:
STEP 4: Targeted Treatments
This is where your skincare gets personal. Whether you’re addressing dark spots, uneven texture, loss of firmness, or breakouts, this step is all about targeted solutions.
Think of serums as your skin’s specialists and each one is designed to tackle a specific concern. Ingredients like niacinamide (for brightening), exfoliants (for texture), peptides (for firmness and plumpness), and retinol (for smoothing and firming) are powerful tools. Spot treatments for active blemishes also live here.
✨ PSA: Let your skin dry for 10–20 minutes post-cleanse before applying retinol. It’s like letting your nails dry before adding topcoat: it helps prevent irritation and ensures better absorption.
Here are a few of my current go-to TARGETED TREATMENTS AND SPOT SERUMS:
STEP 5: MOISTURIZE
No matter your skin type, dry, oily, sensitive, or combination, moisturizer is a must. Your moisturizer is like your coat. It protects your skin from moisture loss and keeps your skin’s protective barrier safe.
It’s the final hug your skin gets before bed, sealing in all the work you just did.
Look for formulas that support your skin barrier and contain hydrating ingredients like hyaluronic acid. If you’re acne-prone, opt for lightweight options that still deliver moisture without clogging pores.
✨ Skin Tip: Think of moisturizer as your overnight security system. It locks in hydration, protects your skin from transepidermal water loss, and helps you wake up with a soft, supple glow.
Here are a few of my current go-to moisturizers:
Step 6 (Optional): Seal It In
If your skin leans dry or you’re in a colder climate, consider finishing with a face oil or occlusive to lock in moisture. This step isn’t for everyone, especially if you’re acne-prone, but it can be transformative for thirsty skin.
✨ Skin Tip: “Slugging” with an occlusive (like Vaseline) or layering a nourishing oil is like putting a satin bonnet on your skin. It traps in moisture, prevents overnight dehydration, and helps your skin wake up plump and radiant.
Here are a few of my current go-to face oils and occlusives:
Final Thoughts
Your nighttime skincare routine isn’t just about products, it’s about presence. It’s a moment to care for yourself, honor your skin’s journey, and show up for your glow. Whether you’re just starting out or refining your skincare routine, remember consistency is queen, and your skin deserves the crown.
Need help choosing products that work for your skin type or concerns? Drop a comment below or DM me. I love helping my Beauty in Color community find their perfect match, and your glow is always worth the effort.
xoxo,
Dana