Estimated reading time: 9 minutes
In today’s busy world, finding time for self care can be a challenge. We all know that those small moments of pampering ourselves can have a huge impact on our overall well-being. That’s why I love indulging in a luxurious at home facial to instantly perk up my mood and make my skin glow.
Why Do An At Home Facial?
Getting a professional facial can be expensive and time consuming. But, you can get similar results in the comfort of your own home with the right techniques and quality skincare products.
An at home facial has so many benefits:
- It’s extremely convenient. You can do it on your own schedule
- It saves money compared to going to a spa or getting a professional facial from an esthetician
- You can customize it exactly for your skin’s needs
- It’s a soothing ritual that relieves stress and relaxes your mind
- Your skin will look incredibly clean and radiant afterwards
So treat yourself to a little pampering and get glowing skin with this easy at home facial routine.
How To Do An At Home Facial
So, let’s get down to business and discover how you can achieve a spa-like facial in the comfort of your own home. Here’s a step-by-step guide to help you cleanse, exfoliate, nourish, and revive your complexion.
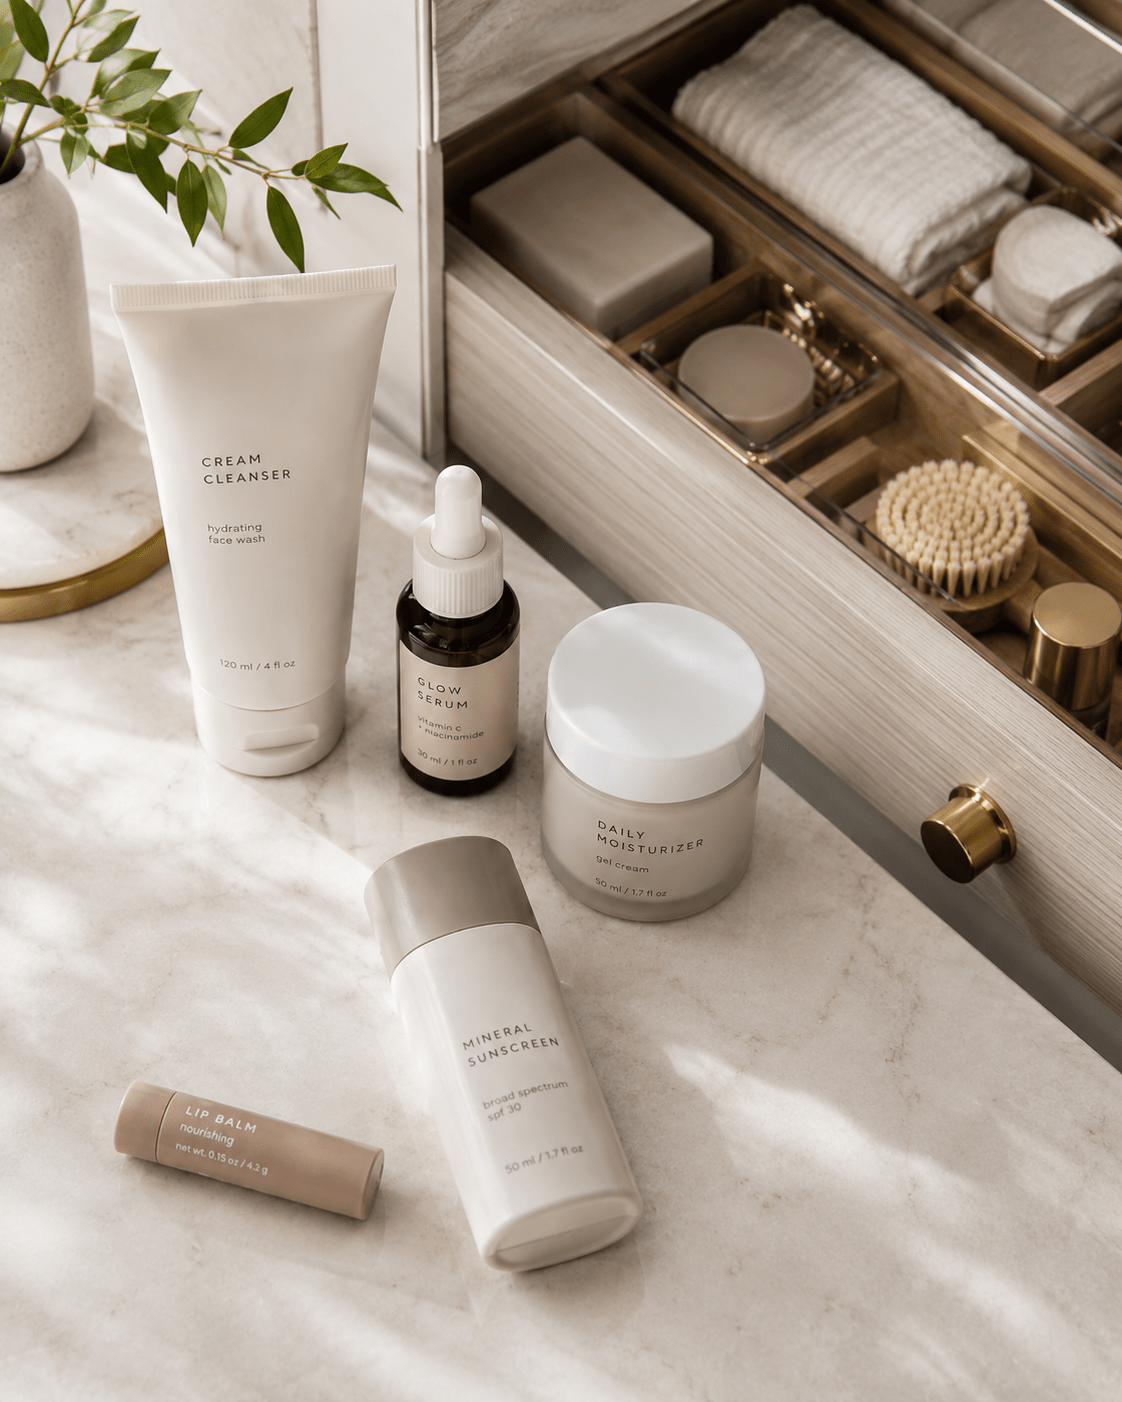
You’ll Need:
- Oil based cleanser
- Water based cleanser
- Exfoliator
- Facial steamer or a large bowl
- Face Mask
- Serums
- Moisturizer
- Face Oil
- LED Mask (optional)
- Candles (optional)
- A drink of your choice (optional)
- Music (optional)
Step 1: Set The Scene
Creating a relaxing environment is essential for an effective at-home facial. Start by dimming the lights to create a calm ambiance. play some soothing music, and consider diffusing aromatherapy essential oils like lavender or eucalyptus to really set the mood. You may also want to light a few candles to add to the spa-like atmosphere.
The goal is to create a peaceful oasis that allows you to truly unwind from the ebb and flow of everyday life. It’s important to fully immerse yourself in this self-care experience, allowing the day’s worries to melt away while you focus on pampering your skin.
Step 2: Double Cleansing
Cleansing is the foundation of any facial routine. And double cleansing ensures you thoroughly remove all dirt, oil, makeup, and impurities from the skin before moving on to other steps.
Start by massaging an oil-based cleanser onto dry skin for 60-90 seconds. This will help break down and dissolve makeup, sunscreen, sebum, and environmental pollutants. Be sure to concentrate on areas like the nose, chin, and hairline. After massaging, emulsify the oil with a bit of warm water and rinse it off completely with a clean cloth. Your skin should feel clean without any residue.
Follow up with a water-based gel or cream cleanser and massage onto damp skin to wash away remaining impurities. Take your time to work it around your whole face before rinsing with warm water and pat the skin dry with a clean towel.
Double cleansing preps your skin for maximum absorption of treatments to follow. Your complexion will look fresh, clean, and ready to glow!
Step 3: Steam The Skin
Steaming your skin before applying serums, masks, and moisturizers serves multiple purposes during an at home facial.
Steaming helps soften any impurities and enhance product absorption. When your skin is damp, your skincare products can penetrate deeply into the dermis. This allows the active ingredients to work better. Warm steam also stimulates blood circulation, bringing oxygen and nutrients to the skin, creating a healthy glow.
There are a few ways you can steam your skin:
- Facial Steamer Device: Purchase a compact and easy-to-use at-home steamer that provides targeted steam.
- Bowl of Hot Water: Boil some water, pour it into a large bowl, and position your face over it with a towel draped over your head to trap the steam. Keep your eyes closed and stay about 10-12 inches above the water.
- Hot Washcloth: Soak a clean towel in hot water, wring out the excess, and apply it to your face for a few minutes. Re-soak the towel when it starts to cool.
Whichever method you choose, steam your face for about 5-10 minutes before moving on to masks and serums. Just be careful not to burn your skin.
Step 4: Safely Extracting Blackheads
Now, let’s talk about one of the most satisfying parts of a facial—extractions! While professional estheticians typically handle extractions during facials, you can safely extract blackheads at home with the right tools and technique.
Before you begin, make sure your face is clean, dry, and well-lit. Then, use an extraction tool – either a metal extractor tool or simply wrap tissue around your fingers – applying gentle pressure to push down on either side of the blackhead and lift it out.
Take your time and focus only on blackheads that are ready to be extracted. Never force anything, and if you notice any bleeding, stop immediately. After extractions, I’d recommend applying a salicylic acid product to help keep your pores clear and reduce the appearance of enlarged pores.
Remember, extraction should be done properly and safely to avoid any damage. Less is often more when it comes to DIY extractions. But when done occasionally and correctly, extractions can deeply cleanse your pores, remove blackheads, and leave your skin feeling fresh. Just be patient and never overdo it.
Step 5: Exfoliate
Exfoliation is a critical step in any facial routine. It helps remove dead skin cells, unclog pores, even out skin texture, and allows your skincare products to penetrate better. There are two main types of exfoliators you can use:
- Chemical Exfoliators: These exfoliators use acids and enzymes to dissolve the bonds between dead skin cells, helping them slough off. Some popular options include alpha hydroxy acids (like glycolic acid and lactic acid), beta hydroxy acids (such as salicylic acid), polyhydroxy acids (like gluconolactone), and enzyme exfoliants with fruit enzymes (think papaya, pineapple, or pumpkin).
- Physical Exfoliators: These exfoliators use particles or mechanical actions to slough off dead skin. Common options include scrubs with particles like sugar, salt, coffee, or nuts, as well as cloths, brushes, and devices. I recommend avoiding harsh particles that can cause microtears and being cautious with devices, especially if you’re new to at home facials.
Choose an exfoliator that suits your skin type and sensitivity, and remember to exfoliate gently. Over-exfoliating can lead to irritation, so it’s better to err on the side of caution.
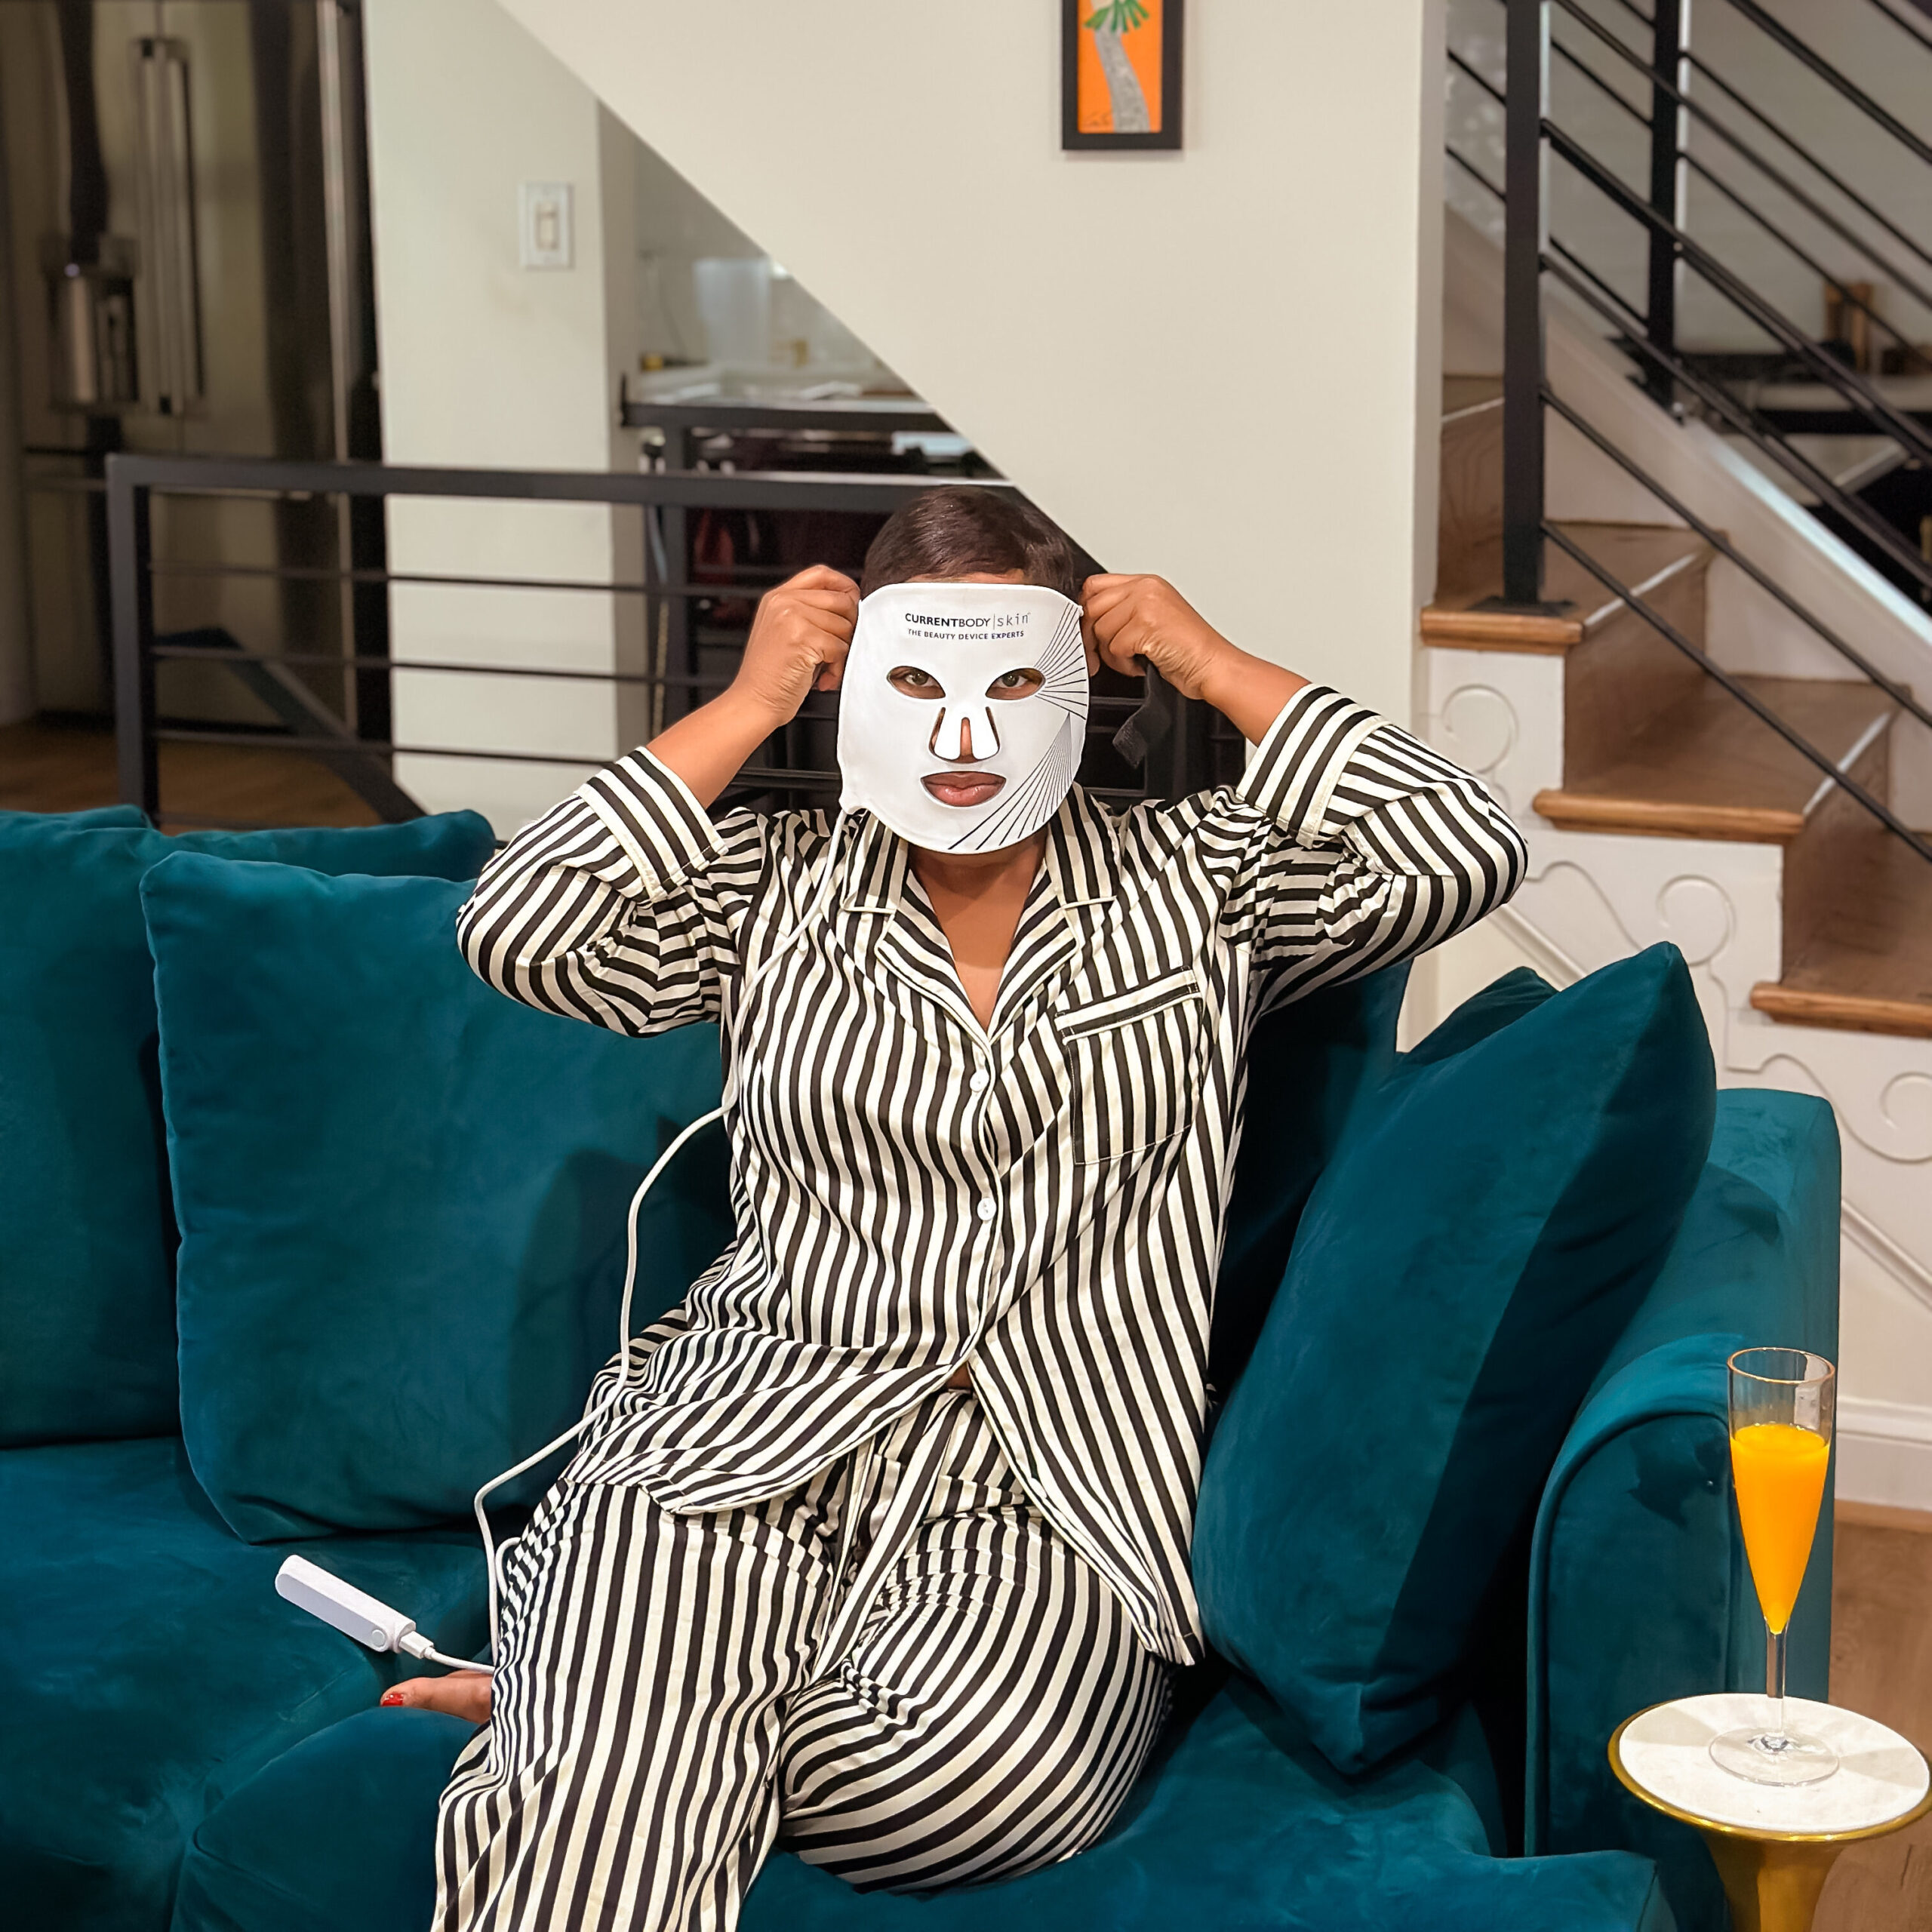
Step 6: Get Your Glow with LED Light Therapy

Although this is an optional step, there’s a reason LED light masks have become a staple in facial treatments and our favorite influencers’ self-care routines – it really works! These masks use different colors of light that penetrate the skin and provide therapeutic benefits.
During my at home facials, I use red light. Red light therapy boosts collagen production, reduces inflammation, and improves texture and overall skin tone. Blue light is another option that kills acne-causing bacteria and helps heal existing blemishes while preventing new ones from forming.
Before and after each use, make sure to thoroughly clean your LED device to maintain its benefits. Your skin will look refreshed and radiant after this high-tech light therapy session!
Step 7: Masking
Ah, the joy of masking! Choose a face mask that suits your skin’s current needs. If you’re looking for an extra boost of hydration, go for a nourishing mask packed with ingredients like honey, aloe vera, glycerin, or hyaluronic acid. For anti-aging benefits, opt for a collagen mask formulated with peptides and antioxidants to nourish mature skin and minimize the appearance of fine lines.
A facial massage can provide the following benefits:
- Improves blood circulation which brings oxygen and nutrients to skin cells. This gives the skin a healthy glow.
- Relaxes facial muscles and relieves tension which helps prevent fine lines and wrinkles.
- Stimulates lymphatic drainage to reduce puffiness and clear away toxins.
- Increases product absorption so skincare is more effective.
- Releases “happy hormones” like serotonin and dopamine making you feel relaxed and rejuvenated.
Take your time with the massage step to decompress and let your skincare products penetrate. Your skin will look more toned, supple and youthful.
Step 8: Hydrate & Moisturize
After all the cleansing, exfoliating, and masking, it’s time to replenish your skin with hydration and moisturization. Look for a hydrating serum and a moisturizer that match your skin type. Ingredients like hyaluronic acid, glycerin, squalane oil, aloe vera, and ceramides work wonders in attracting moisture to the skin and preventing evaporation.
Gently massage your moisturizer into your skin using upward strokes to boost blood circulation and enhance product absorption. Pay special attention to dry areas like the cheeks, under eyes, and lips. This final step will restore moisture balance and lock in all the nourishing ingredients you’ve put on throughout this process.
Step 9: Massage
A rejuvenating facial massage is an essential part of your at-home facial routine. This dedicated step not only promotes blood circulation and relaxes facial muscles but also provides anti-aging benefits.
To create a soothing massage experience, I recommend using a face oil that glides effortlessly across your skin. With gentle upward strokes, starting from the neck and moving upwards, use your fingertips to apply light pressure and work the oil into your skin. Pay special attention to key areas such as the forehead, cheeks, under eyes, and around the mouth.
- For the forehead, place both hands at the center and sweep outward in a gentle motion, relieving tension headaches and promoting relaxation.
- When massaging the cheeks, use circular upward motions from the jawline to the cheekbones. This technique boosts circulation and enhances your natural glow.
- To address the under eyes, use extremely light pressure to tap gently from the inner corners outward. This promotes lymphatic drainage, reducing puffiness and revitalizing the delicate skin in this area.
Indulging in a facial massage releases “happy hormones” such as serotonin and dopamine, leaving you feeling relaxed and rejuvenated. When performing this step, take your time to decompress and allow your skincare products to penetrate deeply, improving the overall effectiveness of your at-home facial routine.
And there you have it! A beautiful at home facial.
How do you pamper yourself? What other tips can you share for an at home spa facial?